Mastering Compressed Air Systems: A Comprehensive Guide to Air Receiver Tanks (Part 3)

Table of Contents
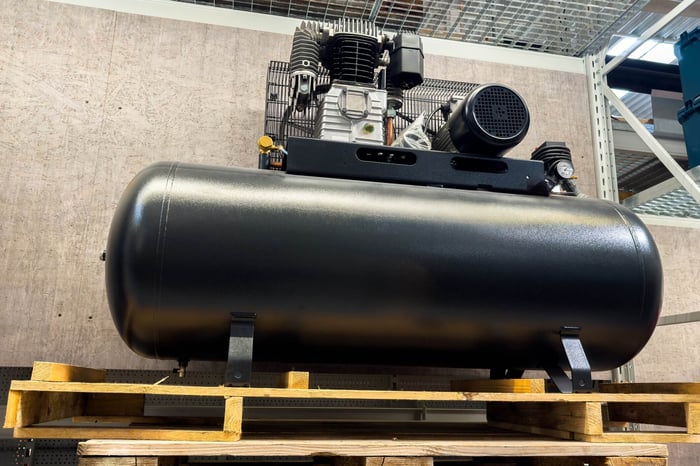
Air receiver tanks play a vital role in stabilizing pressure, reducing compressor cycling, and improving the overall efficiency of compressed air systems. But even the most well-engineered tank can become a liability without proper installation, strict safety adherence, and routine maintenance.
In Part 3 of our comprehensive guide, we focus on the installation, safety, and maintenance best practices that ensure your air receiver tank operates safely and efficiently for years to come.
Proper Installation Practices
1. Strategic Placement
Accessibility – Install the tank where it can be easily inspected, drained, and serviced.
Ventilation – Ensure adequate airflow around the tank to dissipate heat and minimize condensation.
Stable Foundation – Place on a level, solid surface (e.g., concrete slab). Vertical tanks should be anchored with bolts for stability.
2. Vibration Isolation
Use flexible connectors or vibration dampeners between the compressor and the tank to:
Minimize transmitted vibration
Prevent stress on fittings and connections
Extend the life of piping components
3. Proper Drainage Setup
Install manual or automatic drain valves to remove accumulated moisture.
Slightly slope piping toward the drain point for efficient water removal.
4. Compliant Connections
Include check valves, isolation valves, and properly rated pressure relief valves.
Install gauges and sensors for continuous monitoring.
Critical Safety Considerations
1. ASME Certification & Pressure Ratings
Only use ASME-certified tanks designed for your system’s pressure.
Never exceed the Maximum Allowable Working Pressure (MAWP) listed on the tank nameplate.
2. Pressure Relief Valve (PRV)
Every tank must have a PRV sized for its capacity.
Test PRVs regularly to ensure proper operation.
Ensure the PRV is rated at or below the tank’s MAWP and discharges to a safe location.
3. Preventing Corrosion Risks
Drain moisture daily (or confirm automatic drain function).
Use rust inhibitors or epoxy-lined tanks in high-moisture environments.
Consider installing a desiccant dryer upstream for maximum protection.
4. Labeling & Signage
Clearly label the tank with pressure rating, drain location, and maintenance procedures.
Post safety signage and lockout/tagout instructions near the tank.
Maintenance Tips for Long-Term Reliability
1. Daily or Weekly Checks
Drain condensate (manual or automatic)
Verify pressure readings remain within safe limits
2. Monthly Tasks
Test the pressure relief valve
Check fittings and connections for leaks (use soapy water test)
3. Quarterly or Semi-Annual Inspections
Inspect for external rust or corrosion, especially at weld seams
Verify the integrity of mounting hardware and supports
4. Annual Maintenance
Perform an internal inspection for corrosion or debris
Recalibrate gauges and replace faulty components
Confirm compliance with local safety regulations
Final Thoughts
A properly installed and well-maintained air receiver tank can last for decades, significantly enhancing the performance and safety of your compressed air system. By following these best practices, you not only protect your investment but also safeguard your facility and personnel.
👉 Browse our full range of PneumaticPlus Air Receiver Tanks to find a model built for long-term durability and compliance. Please feel free to call us at 1-800-658-3579 or email us at support@pneumaticplus.com for more information.
Disclaimer
The information provided in this article is for general reference purposes only. While it has been obtained from sources believed to be accurate and reliable, PneumaticPlus makes no guarantees regarding its completeness or applicability to every situation. Users are responsible for verifying product specifications, operating conditions, and compliance requirements with the manufacturer or a qualified professional before making decisions based on this content.